This past weekend I built a headboard for my dad. He recently sold his house in the Annex to downsize into a condo in Leslieville, Toronto (my old hood!). At his house he was still using the same bedroom set he had from my childhood home in Michigan (circa 1991). It was a perfectly functioning headboard with built in end tables, but let's be honest, white melamine furniture was best left in the last century. With this move to the condo, I convinced him that it was time to go with something more contemporary and comfy.

Before I get into the details of the headboard build, let's take a quick stroll down memory lane to the time I built first headboard. It was 2014, and my bestie neighbour Cathy and I decided we both wanted to make upholstered headboards. This was a first DIY project for both of us and boy was it fun! Throughout our one day project, we called ourselves the 'DIY Divas' and pretended we had our own HGTV show. We even had our husbands take photos and videos of us building too. At the end of the day, we each had beautiful, upholstered headboards and a life time of memories we still reminisce about to this day. Six years later, this is still the headboard in our master bedroom!


Fast forward six years to this past weekend. I used the same technique to make my dad's headboard. Here's how to make your own cozy upholstered headboard in seven easy steps:
For a queen size headboard, here are the materials you will need:
1/2 inch plywood cut to 64" in length x 48" wide (48" wide is the standard width of plywood)
2 pieces of 1" x 4" x 48" of spruce/pine lumber (for the frame)
2 pieces 1" x 4" x 56" of sprue/pine lumber (for the frame)
16 Wood screws Size 8x1".
quilt batting. I used the double bed size. I bought mine from Walmart for $14.97.
2 pieces of 1x24"x72" 1" upholstery foam I purchased this foam from JT's Outdoor Furnishings (online store) in Barrie Ontario. They deliver Canada wide.
2 yards of fabric. Tip: choose a fabric that is not stretchy (little bit of stretch is fine) and thick enough that it is not see through. For my dad's headboard, I went with a wool/tweed blend fabric. It was $9.99/yard at Fabricland.
1 can of spray adhesive. I used Gorilla Spray Adhesive. Don't forget to read the instructions on how to use it.
staple gun (with staples)
Step 1: Attach the wood pieces 1"x4"x48" and the 1"x4"x56" to the plywood sheet in the shape of a frame (along the outer edges) using wood screws. This will be the base structure of your headboard. Adding the frame will make the edge of your headboard appear thicker (and more expensive!) TIP: ask your hardware store to cut all your pieces for you so all you have to do is assemble.

Step 2: Flip the plywood over and using the spray adhesive, spray the entire board and the side of the upholstery foam that will be facing down on the plywood. Apply pressure to the foam to get a nice adhesion. Trim off any excess foam that is overhanging over the edge using a serrated knife.


Step 3: On a clean surface, layout your fabric and then layout your quilt batting on top of it. Then lay your plywood with the foam attached face down on the quilt batting. Line up the top edge so you have 3-4 inches of quilt batting overhand, enough to pull it up and over the frame so it can be stapled.


Step 4: Starting with the quilt batting at the top of the board, pull it towards the back of the frame and staple it in place with the staple gun. Work from one side to the other side applying a staple every 3-4 inches. TIP: I like to fold over the batting to make it a bit more plush on the top and sides.


Step 5: Repeat step 4 on the other sides, leaving the corners to be completed last. With the corners, cut off the excess foam and fold the quilt batting in like a present and staple it to secure.
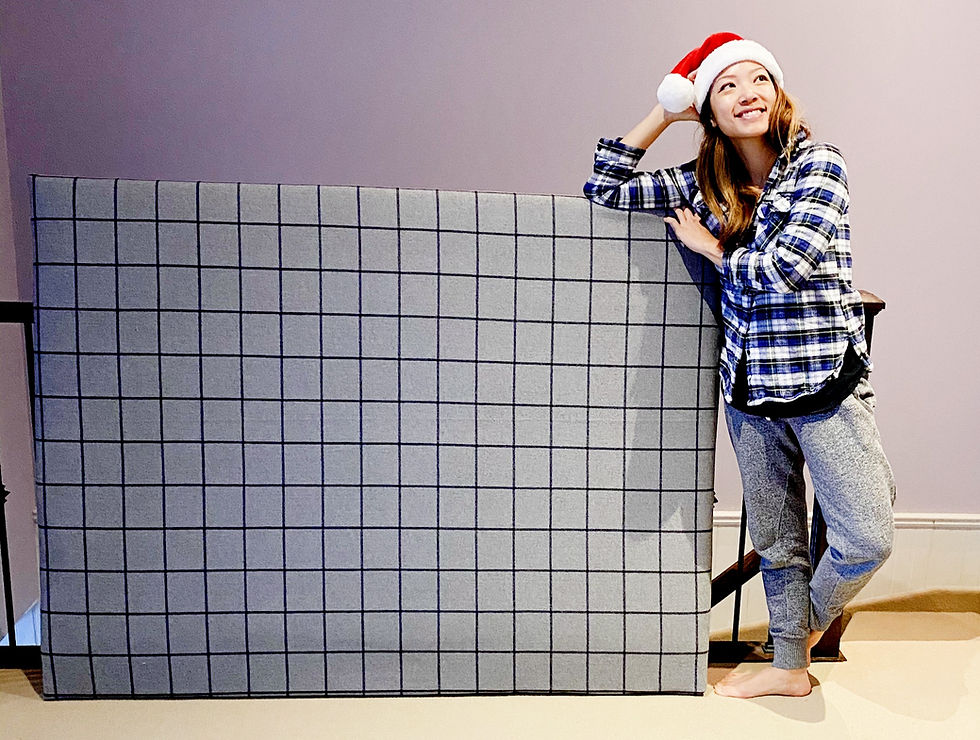
Step 6: Repeat Step 4 and 5 with your chosen fabric. TIP: If you have a pattern on your fabric, line up the board so the pattern will be straight. In my instance since I had lines on the fabric, I made sure the lines were straight to the top of my headboard.
Step 7: Turn over your newly upholstered headboard and admire your work!

I think this upholstered queen headboard will look great in my dad's new condo.
I hope you find this How To tutorial helpful and shoot me message or comment if you have any questions. For videos of this tutorial, check out the highlight reel 'Headboard DIY' on Instagram @theruthlessmaker.
Cheers,
Ruth aka The Ruthless Maker
Comments